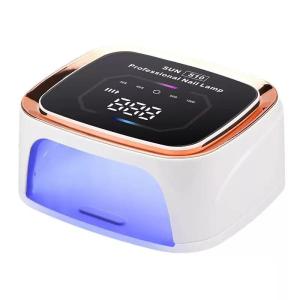
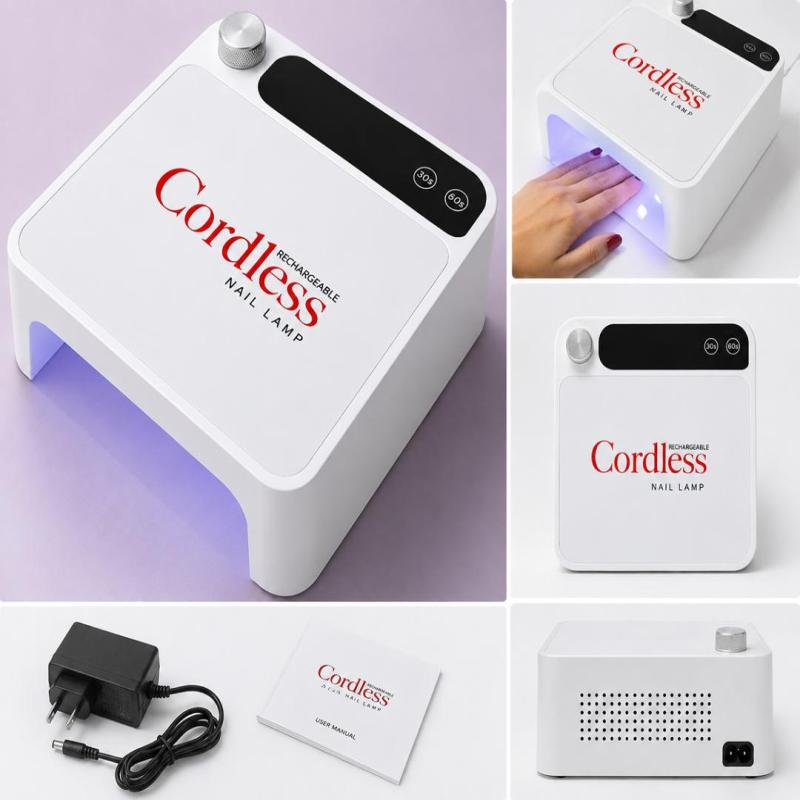
A professional rechargeable UV/LED nail lamp designed for curing gel nail products without being restricted to a permanent power connection.
Its cordless design makes it convenient for salon work, mobile nail technicians, training sessions and home use. The compact enclosed design provides a dedicated curing space, while the built-in timer controls make it easy to control curing times.
Rechargeable cordless nail lamps commonly use preset curing times such as 30 seconds and 60 seconds, while comparable professional models may offer additional timer or low-heat settings.
What You May Not Like
* The battery eventually needs recharging.
* Curing performance depends on the gel product being used and whether it is compatible with the lamp.
* Thick or heavily pigmented products may require additional curing according to the product manufacturer’s instructions.
* Battery performance will decrease gradually with repeated charging cycles.
* You need to keep the lamp’s charging equipment available when the battery is low.
Precautions
* Use the correct charger and charging specifications supplied with the lamp.
* Do not use the lamp if the cable, charger, battery or housing is damaged.
* Keep the lamp away from water and liquid nail products.
* Do not cover the ventilation openings.
* Do not stare directly into the UV/LED light source.
* Follow the curing instructions of the gel-product manufacturer rather than assuming every gel requires the same time.
* Allow the lamp to cool if it becomes unusually hot during extended use.
* Keep the lamp clean and remove accumulated product or dust from the curing area.
How to use
1. Charge the lamp before your first use. Connect the supplied charger and allow the rechargeable battery to charge according to the manufacturer’s instructions.
2. Prepare the nails completely. Finish your manicure, apply your gel product evenly and make sure the layer is not excessively thick.
3. Select the required curing time. This model visibly has 30-second and 60-second controls. Select the appropriate setting based on the gel manufacturer’s recommended curing time.
4. Place the client’s hand inside the lamp. Position the fingers so the nails are properly exposed to the UV/LED light. Avoid keeping the fingertips pressed against the interior.
5. Start the curing cycle. Allow the lamp to complete the selected time. Keep the hand still during curing for more consistent exposure.
6. Check the result before continuing. If the product is still soft or under-cured, do not simply keep adding random curing time. Check the gel manufacturer’s recommended curing requirements and make sure the lamp is suitable for that product.
7. Repeat for each layer. Base gel, colour gel, builder gel, top coat and other UV/LED-curable products should each be cured according to their respective instructions.
8. For pedicures, position the feet carefully. If the opening and internal space accommodate the foot comfortably, position the toes so the product receives direct exposure to the curing LEDs.
9. Recharge after use when necessary. Once the battery becomes low, connect the appropriate charger and recharge before the next cordless session.
10. Clean the lamp regularly. Switch it off and disconnect it before cleaning. Wipe the exterior and curing area with a suitable dry or lightly dampened cloth, keeping liquid away from electrical components.
Important: Cure times are product-dependent. Similar professional rechargeable lamps may offer multiple timer modes and automatic sensors, but you should follow the specific gel manufacturer’s curing instructions rather than assuming one time works for every gel.